
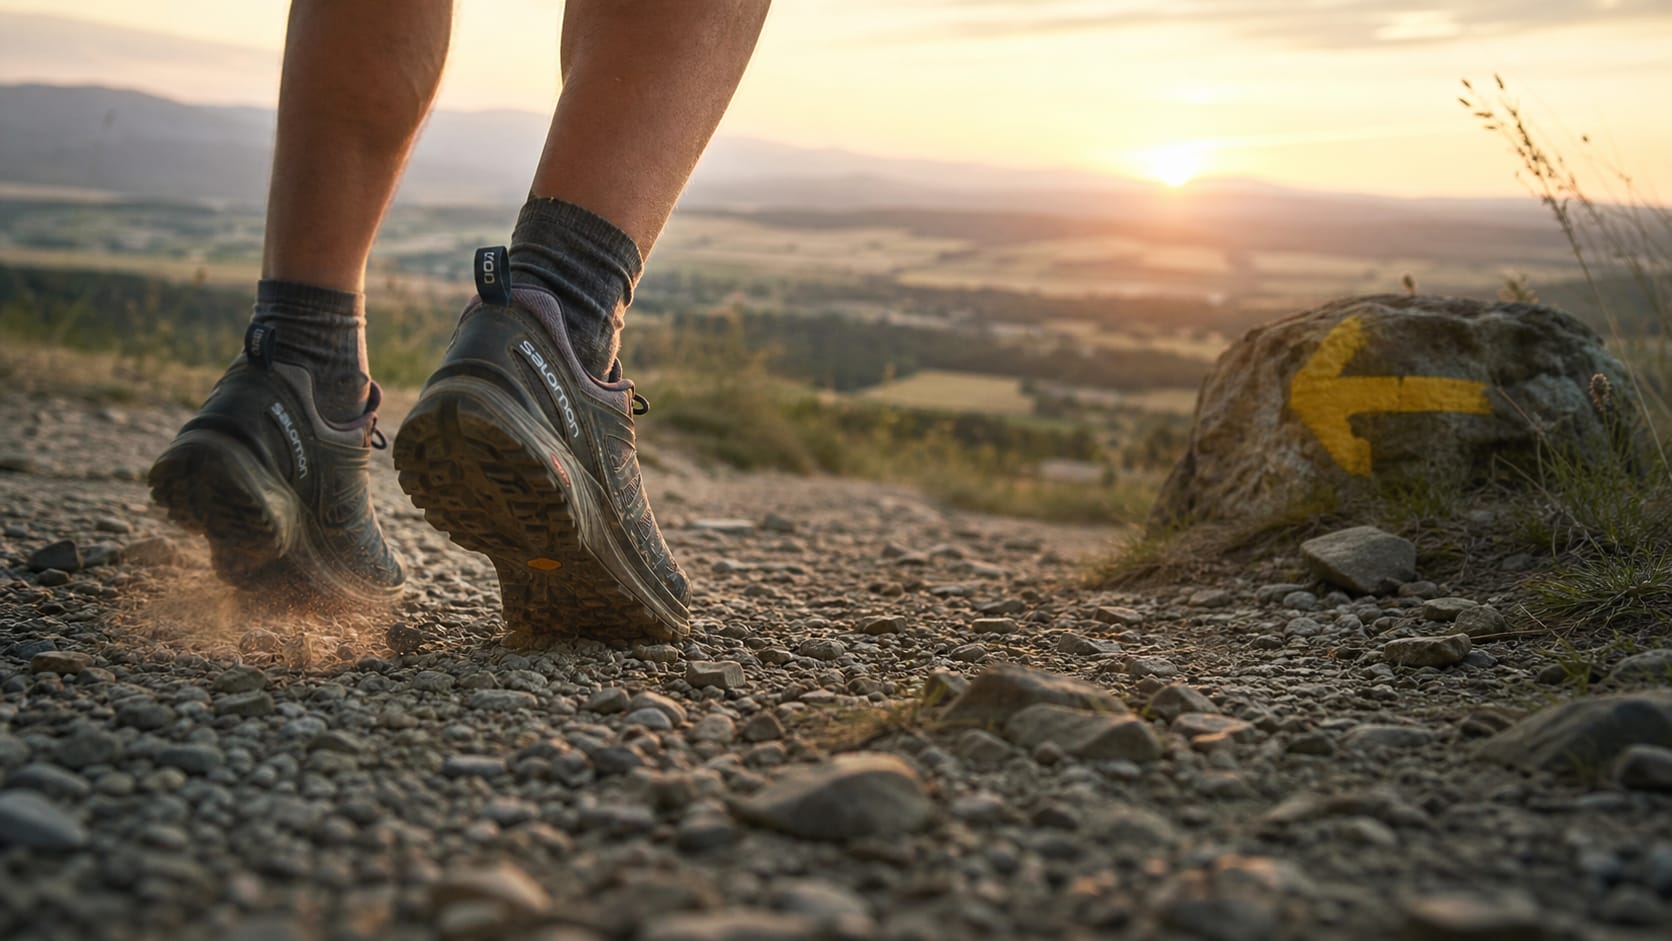
Treat blister prevention as a daily protocol, not a one-off decision. Each Camino Francés day has three windows: a 15-minute pre-walk routine (clean dry feet, lubricant, paper tape, liner plus wool sock), an on-trail loop (debris check every 90 minutes, full sock change at midday), and a 10-minute evening reset (wash, dry, air, inspect, re-tape). The routine sits inside the broader foot care on the Camino guide, which covers everything from training-week conditioning to mid-trail medical decisions.
A tip list ("change your socks") works for a weekend walk. A multi-week walk needs a routine you can run on autopilot at 5:30 a.m. in a dark albergue dorm with cold feet and someone else's headlamp pointed at the ceiling. The routine is what survives those mornings.
The three daily windows: morning, on-trail, evening
Pre-walk is the prevention window. On-trail is the catching window. Evening is the repair window. Skipping any one of them compounds across 33 stages. Morning keeps shear off the skin in the first place. On-trail intercepts shear before it becomes a hot spot. Evening lets the skin dry and the feet recover overnight so the next morning starts from baseline, not from yesterday's accumulated damage.
Why a routine beats a tip list on a multi-week walk
Friction blisters are a function of repetition. The same step taken 30,000 times a day is what makes a hot spot, not any single bad step. A tip ("use Vaseline") is one input. A routine ("dry feet, balm, tape, liner, wool, lace, check, swap, wash") is a system. Pilgrims who finish 33 stages with intact feet almost always describe a sequence, not a product.
How the routine shifts between week 1, week 2 and week 4
Week 1 is the highest blister risk: feet are not yet adapted, shoes are still finding their fit, and stages are steep out of Saint-Jean. Run the full routine and double the on-trail checks. Week 2 settles into rhythm; you can drop checks to every 90 minutes. By week 4, feet have toughened, socks are stretched into shape, and the evening reset becomes the longest window because afternoon heat on the Meseta drives more sweat-soaking than friction.
Camino Francés blisters come from repeated shear deformation under the skin, not single friction events. Long 24 km stages, hot afternoons, asphalt and gravel surfaces, foot swelling across 33 days, and unfamiliar shoes amplify shear. The fix is to reduce repetition (sock changes, debris checks) and to absorb shear at the skin (lubricant plus paper tape) before it accumulates.
Shear vs friction: the mechanism that matters
Friction is what your shoe does to your sock. Shear is what your sock does to the layers of skin underneath. A blister forms when the upper epidermis slides forward over the deeper dermis enough times to tear the connection between them, and serum fills the gap. Paper tape works because it takes the slide for you: the tape moves against the sock, and the skin underneath stays still. Lubricant works the same way at the sock-skin boundary. Both reduce shear, which is the variable that actually predicts blisters.
Stage profile: how surfaces and distances stack up
The Camino Francés mixes asphalt, dirt track, and gravel in roughly equal thirds across the 33 stages. Asphalt loads the heel and ball with hard repetitive impact. Gravel rolls under the foot and forces tiny stabilising contractions in the toes. Dirt track is forgiving but holds water in autumn. Each surface has a different shear profile, which is why sock changes and lacing matter more than shoe choice once you are walking.
Foot swelling across 33 stages
Feet typically swell up to half a shoe size across a long-distance walk, which is why most Camino footwear advice recommends sizing up a half to a full size from your everyday shoe. The swelling is gradual: stages 1 to 5 feel snug, stages 6 to 20 feel right, stages 21 to 33 push against the toe box. If you laced your shoes the same way on day 28 as on day 1, you are creating shear you did not have at the start. Re-check lacing every Monday morning.
Shower the night before, not the morning, to keep skin dry. At 5:30 a.m., trim any rough nail edges, dry feet completely, apply anti-chafe balm in a thin layer, pre-tape known hot zones with paper tape applied tension-free, then pull on a liner sock followed by a wool sock and finally a snug heel-lock lace.
Step 1: dry feet and trim nail edges
Damp skin shears more than dry skin. A morning shower leaves the stratum corneum waterlogged for an hour or two, which is exactly when stage 1 starts. Shower at night, sleep in clean dry socks, and in the morning dry between every toe with a small microfibre cloth. Trim any nail edge that catches on a sock; a sharp corner under a wool sock at kilometre 14 is its own hot spot.
Step 2: anti-chafe balm placement
Apply a thin layer of anti-chafe balm to known shear zones: heel rim, ball under the second and third toes, outside of the baby toe, and between toes if you typically blister there. Thin is the operative word. A thick layer balls up under the sock and creates pressure points. Bodyglide, Squirrel's Nut Butter, and most cycling-chamois balms work; petroleum jelly works but soaks socks and shortens their life.
Step 3: paper-tape the three hot zones
The three highest-risk zones for Camino Francés pilgrims are heel rim (downhill shear from Saint-Jean and Cebreiro descents), ball under the second toe (forefoot shear on flat Meseta kilometres), and outside of the baby toe (lateral shear when the shoe pinches as feet swell). Apply paper tape (Hypafix, Micropore 25 mm, or Leukosilk) across each zone with no tension, smoothing it flat with no creases. Tension under tape causes its own blister.
Step 4: sock layering and heel-lock lacing
Pull on a thin synthetic or silk liner sock first, then a merino-blend wool sock. The slip plane is between the two socks, not between the sock and the skin. Lace the shoe firm but not tight through the forefoot, then run a heel-lock: feed the lace back through the top eyelet on the same side, cross over the top, and tie. Heel-lock lacing reduces forward foot sliding on downhill sections, which is the most common heel-blister trigger. For sock specifics across summer and shoulder seasons, the sock strategy guide has the brand-by-brand breakdown.
Every 90 minutes, stop, loosen laces, shake debris from the shoe, and run a finger along the sock seam. At midday, fully swap into a dry sock pair, air the worn pair on your pack, and refresh lubricant. At the albergue, wash feet in cool water, dry thoroughly, inspect each toe, leave any taping in place, and rotate clean socks for tomorrow.
The 90-minute debris and sock-seam check
The 90-minute interval lines up with most pilgrims' natural water breaks. Loosen laces, pull the shoe off without untying, shake out any grit, run a finger along the sock seam to feel for bunching or a bunched-up tape edge, then re-lace. Total time: under three minutes. Skipping this is the most common blister cause we hear about. A single grain of grit in week one becomes a stage-ending blister by lunchtime.
Midday full sock change
At midday or roughly the halfway point of the stage, fully swap into a dry sock pair. Pin the worn pair to the outside of your pack so they dry in the afternoon sun. Apply a thin refresh of anti-chafe balm before the dry socks go on. Pilgrims who change socks at midday report meaningfully fewer afternoon hot spots than those who do not. The midday change is the single most cost-effective trail intervention you can make.
Albergue arrival: the 10-minute reset
At the albergue, wash feet in cool water (hot water swells tissue and dries skin), dry thoroughly between every toe, inspect each toe for hot spots or tape lifting, leave intact pre-tape in place, and rotate clean socks for tomorrow. If a tape edge is lifting, replace it now. Sleeping on a half-loose tape sets up a fresh hot spot for tomorrow. Hang washed socks somewhere with airflow. A sock that is not fully dry by morning costs you the stage.
Both reduce shear at the skin, but they work differently. A double-layer sock (Wrightsock, X-Socks) builds slippage between two bonded layers. A liner-plus-wool system uses a thin synthetic or silk liner under a merino-blend wool sock to create the slip plane. For Camino Francés heat and 33 days of use, most pilgrims do best with the liner-plus-wool combination because the wool layer can be swapped without removing the liner.
How each system handles shear
Double-layer socks bond the inner and outer layers at the cuff and toe but leave the body of the sock free to slip against itself. Liner-plus-wool puts the slip plane between two independent socks. The double layer is a closed system: when it works, it works without thought. The two-sock system is an open system: you can swap the wool layer mid-day, you can change liner brands without changing the wool, and you can dry each layer independently overnight.
Heat, moisture, and laundry trade-offs
In Camino Francés summer (June, July, August), the double-layer sock traps more heat than two thinner socks. In the rainy October Meseta, the liner-plus-wool system dries faster overnight because each layer is thinner. Merino wool socks retain insulation when damp and dry significantly faster overnight than cotton socks. Never bring a cotton sock to the Camino. For laundry, two-sock systems double the load but halve the bulk per sock.
What to pack for a 30-day walk
For a liner-plus-wool system, pack two liner pairs and four merino-blend wool pairs. Wash one of each every evening; rotate so no pair walks two days in a row. For a double-layer system, pack three pairs (a tighter rotation because each pair takes longer to dry). Either way, the kit fits in a 1 litre dry bag.
Plan on 100 km of broken-in mileage in the exact shoes and socks you will wear on the Camino. Across 12 weeks that is roughly 8 km per week, ramped from 3 km in week 1 to two 12 to 15 km loaded walks in weeks 10 to 12. The last two long walks should carry your full Camino pack so foot, sock, lacing, and pack-weight feedback all show up before you fly.
Weeks 1 to 4: shoe and sock pairing
The first month is for shoe-and-sock fit, not mileage. Buy your Camino shoes at the start of week 1 and wear them to walk 3 km in week 1, 5 km in week 2, 7 km in week 3, 8 km in week 4. Wear the exact sock combination you will use on the Camino, including the liner. Any hot spot in this month is a fit verdict on the shoe or the sock, not a sign to push through. Replace the shoe before you fly.
Weeks 5 to 8: distance and load build
Add a 3 to 5 kg pack from week 5 and grow weekly volume to about 12 to 16 km. Walk on the surfaces you will see on the Camino: asphalt sidewalks plus a dirt or gravel section if you can find one. By week 8, do a single 12 km walk with a 6 kg pack and run the full morning routine before you start: dry feet, balm, paper tape on the heel rim, liner plus wool. That is the rehearsal that catches problems while you can still adjust.
Weeks 9 to 12: two long loaded walks per week
Weeks 9 to 11 do two 12 to 15 km loaded walks back-to-back on Saturday and Sunday with your full Camino pack weight (around 10 percent of body weight, excluding water and food). That is the Camino in miniature. Week 12 is a half-volume taper: one 8 km loaded walk, two short unloaded walks, then rest. Across the 12 weeks you will log roughly 100 km in the shoes, the minimum most Camino guidebooks recommend for break-in.
A hot spot is the warm, pink, slightly tender patch that appears 10 to 15 minutes before a blister. Treat it as a stop signal. Pull off the shoe and sock, dry the skin, apply paper tape across the area with no tension, change to a dry sock, and reset the lacing on that foot only. Acting in the hot-spot window stops most would-be blisters from forming. The hot-spots spoke walks through the response sequence in finer detail.
What a hot spot feels and looks like
A hot spot feels warmer than the surrounding foot and tender to a light press. The skin looks pink, not red, and the area is usually the size of a fingertip. It sits in one of the predictable zones: heel rim, ball under the second toe, outside of the baby toe, or between toes. If you can describe the sensation precisely ("warm patch on the inside of my left heel"), you are in the hot-spot window. If you can already feel a bubble, you are past it.
The 3-minute hot-spot response
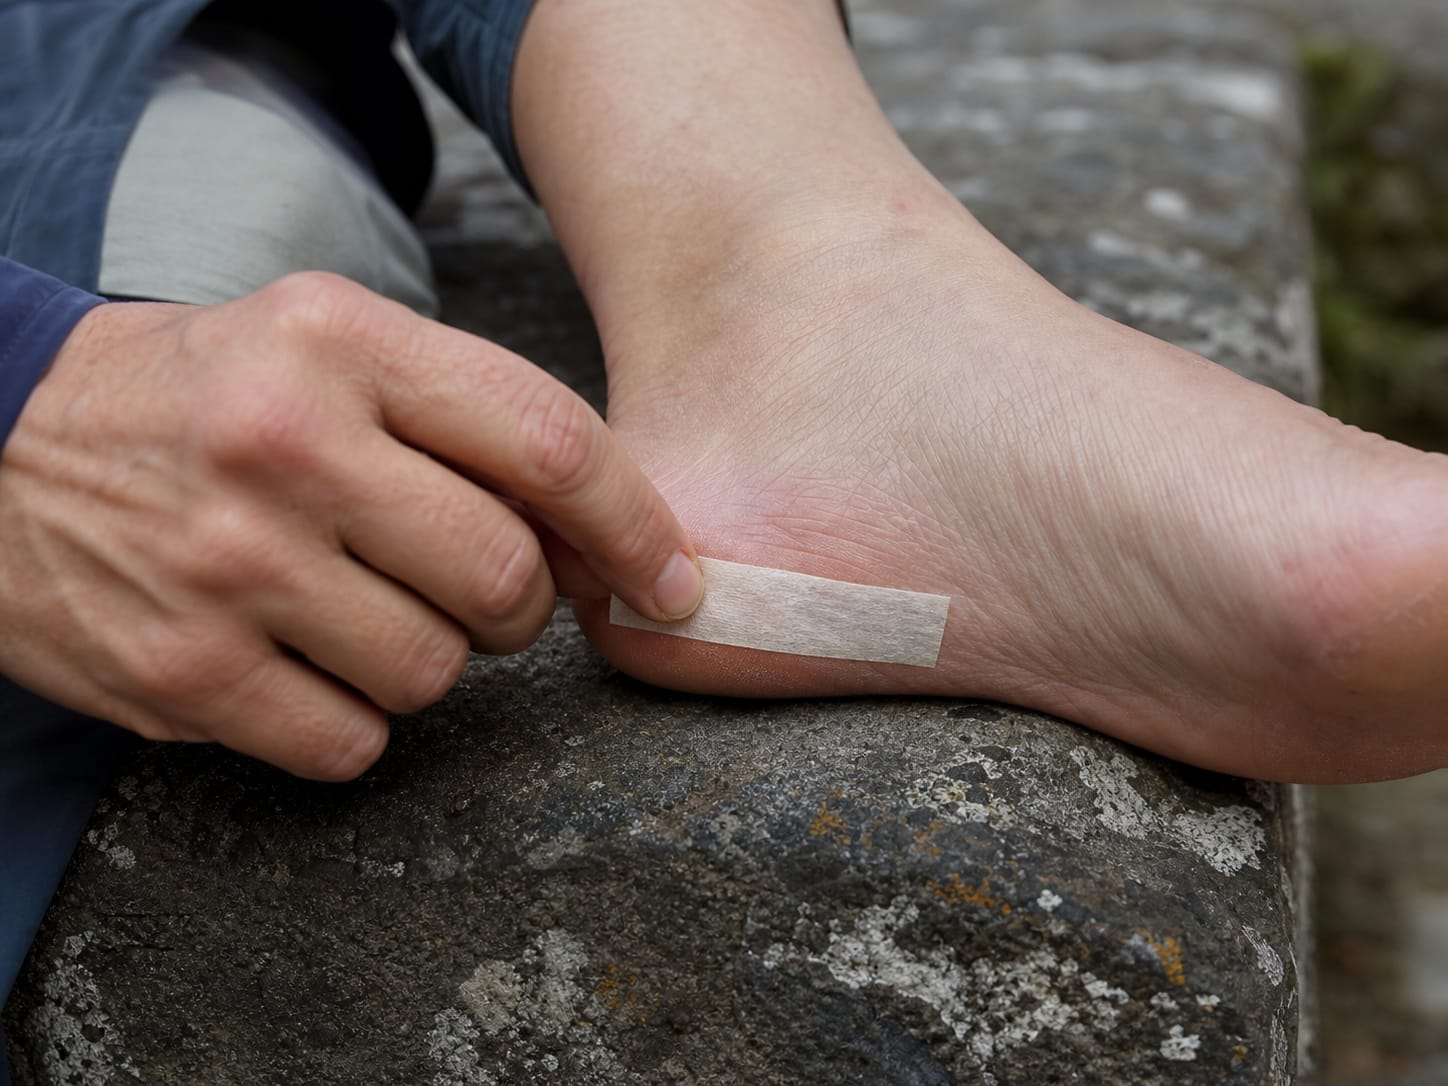
Sit down on a wall or kerb. Loosen laces. Pull the shoe and both socks off the affected foot. Wipe the area dry with a sock cuff or a wipe. Apply a strip of paper tape across the hot spot with no tension, smoothing edges flat. Put a fresh dry sock on. Re-lace the shoe firm at the forefoot, heel-lock at the top. Total: under three minutes. Keep walking.
When a hot spot needs a Compeed instead of tape
If the skin is already shiny or showing a tight raised edge, you are past the hot-spot window. Put a Compeed or generic hydrocolloid patch over the area instead of paper tape; the gel layer cushions and stays in place for 36 to 48 hours. Once a real blister has formed, see the blister treatment on the trail guide for the drainage and dressing protocol. And if the foot is screaming at the end of stage 3, the rest day guide covers when to take a half day.
Pack a single 250 to 300 g foot-care kit for 33 days: one 25 mm roll of paper tape, one roll of Leukotape P as backup, a small tube of anti-chafe balm, four pairs of merino-blend wool socks, two pairs of liner socks, a small pair of folding scissors, three Compeed hydrocolloid patches, and a tiny tub of foot powder. Replace tape and balm in León around stage 18. The kit sits inside the broader foot-care system on the Camino, which also covers nail care, footwear choice, and trail-side medical decisions.
Tape: paper tape, Leukotape, and Compeed roles
Paper tape is the daily prevention layer: cheap, light, applied tension-free, replaced every morning. Leukotape P is the backup for damp skin and longer holds; it sticks through sweat and rain where paper tape lifts. Leukotape is widely cited as the most versatile prophylactic tape for both dry and damp skin. Compeed hydrocolloid patches are the response layer for hot spots that are already shiny and for small intact blisters: leave them on for 36 to 48 hours and let them peel off naturally.
Socks: how many pairs for 30 days
Four merino-blend wool pairs plus two liner pairs is the working kit. That gives you a clean wool pair every morning, a dry pair to swap into at midday, and a third pair drying overnight, with a fourth as backup for a soaked-rain day. Two liners means one washed nightly and one in reserve. Cotton in any layer ruins the system.
Tools and refills along the route
A small pair of folding scissors handles tape, plasters, and the occasional toenail. Add foot powder for hot summer stages. In León, around stage 18, most pilgrims have used roughly half a roll of paper tape and a third of their balm; top both up at any Spanish farmacia. They sell Leukosilk and Compeed under their Spanish names; ask for esparadrapo de papel for paper tape.
Frequently asked questions
Should I use double-layer socks or a liner sock system on the Camino Francés?
Most first-time Camino Francés pilgrims do better with a liner sock plus a merino-blend wool sock. The liner provides the slip plane that reduces shear, and the wool sock can be swapped at midday without disturbing the liner. Double-layer socks like Wrightsock work for some pilgrims but trap more heat in summer and are harder to refresh on trail.
How many kilometres of break-in walks do I need before starting the Camino?
Aim for at least 100 km of break-in mileage in your exact Camino shoes and socks, spread across 8 to 12 weeks. The last two weeks should include two 12 to 15 km loaded walks with your full pack. That mileage lets shoe, foot, lacing, and pack issues surface at home, not at kilometre 14 on day 3.
Does pre-taping toes before walking really prevent blisters, or should I wait for a hot spot?
Both strategies work, and the evidence supports pre-taping known problem zones with paper tape applied tension-free. Randomised trials of paper tape on endurance runners show a large absolute drop in blister incidence. If you have never blistered in a given zone, you can wait and tape only when you feel a hot spot, but pre-tape any zone with a prior blister history.
Which Camino Francés stages cause the most blisters?
The first three stages out of Saint-Jean-Pied-de-Port and Pamplona, and the long Meseta stages between Burgos and León, cause the most blister reports. Day 1 to Roncesvalles is steep, day 2 has long descents, and the Meseta is flat and hot, which dries feet then re-soaks them in sweat. Adjust sock changes and lubricant frequency on those stages.
Should I keep walking with a blister, or take a rest day?
If the blister is intact, smaller than a coin, and not on a weight-bearing zone, you can usually keep walking with a hydrocolloid patch and adjusted lacing. If it is bigger than a coin, on the heel pad or ball, deroofed, or showing redness around the edges, take a half day or a full rest day. Walking through deep blisters extends recovery by days and risks infection.
Do I need different gear or routines on a hot summer Camino versus an autumn walk?
Yes. In July and August, expect more sweat-driven shear, so add a second midday sock change and reapply lubricant at lunch. In late autumn, expect rain and longer evenings, so prioritise faster-drying merino blends, a small spare sock kept inside your sleeping bag, and stricter evening drying routines.
External citations
Knapik JJ, Reynolds KL, Duplantis KL et al., 'Friction blisters: pathophysiology, prevention and treatment' (Sports Medicine, 1995)
pubmed.ncbi.nlm.nih.gov/7740249Foundational peer-reviewed review on friction blister mechanism and prevention, cited across the modern blister-prevention literature and underpinning the shear-vs-friction explanation in this article.
Lipman GS et al., 'Paper tape prevents foot blisters: a randomized prevention trial' (Clinical Journal of Sport Medicine, 2014)
pubmed.ncbi.nlm.nih.gov/25051184Randomised controlled trial in ultramarathon runners showing prophylactic paper tape produces a large absolute reduction in blister incidence; the evidence anchor for the pre-tape routine.
American Pilgrims on the Camino — Prepare for Camino
americanpilgrims.org/prepare-for-caminoUS confraternity reference that aggregates current pre-departure conditioning, gear, and foot-care guidance for first-time pilgrims, used here for the break-in mileage targets and packing-list defaults.
La Compostela del Lector
You walked this guide to Santiago.
All 771 km, 0 stages, stamped end to end.